How to Test a Circuit Breaker: Complete DIY Safety Guide
Learn how to test a circuit breaker safely and effectively with our essential guide. Ensure your safety and maintain electri

Key Takeaways
- Circuit breakers should be tested annually or when experiencing frequent tripping, flickering lights, or burning smells
- A digital multimeter is the most reliable tool for testing circuit breaker voltage and continuity
- Proper safety gear including insulated gloves, safety glasses, and rubber-soled shoes is essential when testing breakers
- Normal voltage readings should be 120V for single-pole breakers or 240V for double-pole breakers
- Call a licensed electrician for complex electrical issues or if you’re uncomfortable working with electrical components
Learning how to test a circuit breaker is one of the most valuable electrical safety skills every homeowner should master. Circuit breakers are the silent guardians of your home’s electrical system, protecting your family and property from dangerous overloads and short circuits. When these critical safety devices begin to malfunction, the consequences can range from inconvenient power outages to catastrophic electrical fires.
Understanding proper circuit breaker testing procedures empowers you to identify potential electrical hazards early, potentially saving thousands in repair costs and preventing dangerous situations. This comprehensive guide will walk you through everything you need to know about testing circuit breakers safely and effectively, from recognizing warning signs to interpreting test results and knowing when to call for professional help.

Understanding Circuit Breakers and When to Test Them
Circuit breakers serve as automatic switches designed to protect electrical circuits from damage caused by overloads or short circuits. When current flow exceeds safe levels, the breaker trips and interrupts the electrical flow, preventing potential fires and equipment damage. Modern electrical systems rely heavily on these protective devices to maintain optimal safety throughout your home’s electrical system.
The most common signs indicating a faulty breaker include frequent tripping without apparent cause, a burning smell emanating from the electrical panel, flickering lights when certain appliances operate, or outlets that intermittently lose power. These symptoms often signal that your breaker connects are deteriorating or the internal mechanisms are failing, requiring immediate attention to prevent electrical hazards.
Residential electrical panels typically contain three main types of circuit breakers. Standard breakers protect general lighting and outlet circuits, while GFCI (Ground Fault Circuit Interrupter) breakers provide enhanced protection in wet locations like bathrooms and kitchens. AFCI (Arc Fault Circuit Interrupter) breakers detect dangerous electrical arcs and are commonly required in bedrooms and living areas by modern electrical codes.
Regular circuit breaker testing should occur annually as part of routine home maintenance, with immediate testing warranted whenever electrical issues arise. Professional electricians recommend more frequent testing for older breakers or those in harsh environments where moisture, dust, or temperature extremes may accelerate wear. Periodic testing helps identify problems before they escalate into serious safety hazards, ensuring your home’s electrical system continues operating reliably.
Essential Tools and Safety Equipment
Successful circuit breaker testing requires the right electrical equipment and unwavering attention to safety protocols. The cornerstone tool for any electrical testing is a high-quality digital multimeter capable of measuring ac voltage accurately. Your multimeter should be rated for at least 250 volts and feature clear, easy-to-read displays that won’t leave you guessing about critical measurements.
A non contact voltage tester serves as your first line of defense, allowing you to confirm power presence without making direct electrical contact. This invaluable tool helps verify that circuits are de-energized before beginning work and can detect ac voltage through wire insulation, providing an extra layer of safety during the testing process.
Personal protective equipment forms the foundation of electrical safety when working around circuit breaker panels. Insulated gloves rated for electrical work protect against electric shock, while safety glasses shield your eyes from potential arc flash. Rubber-soled shoes provide crucial insulation from ground, and long sleeves protect exposed skin from electrical burns should an accident occur.

Additional tools enhance both safety and efficiency during circuit breaker testing. A reliable flashlight ensures adequate visibility when working in dimly lit electrical panels, while insulated screwdrivers allow safe removal of panel covers and breaker manipulation. Always verify that your tools are properly rated for your home’s electrical system voltage to prevent equipment damage or personal injury.
How to Test a Circuit Breaker with a Multimeter
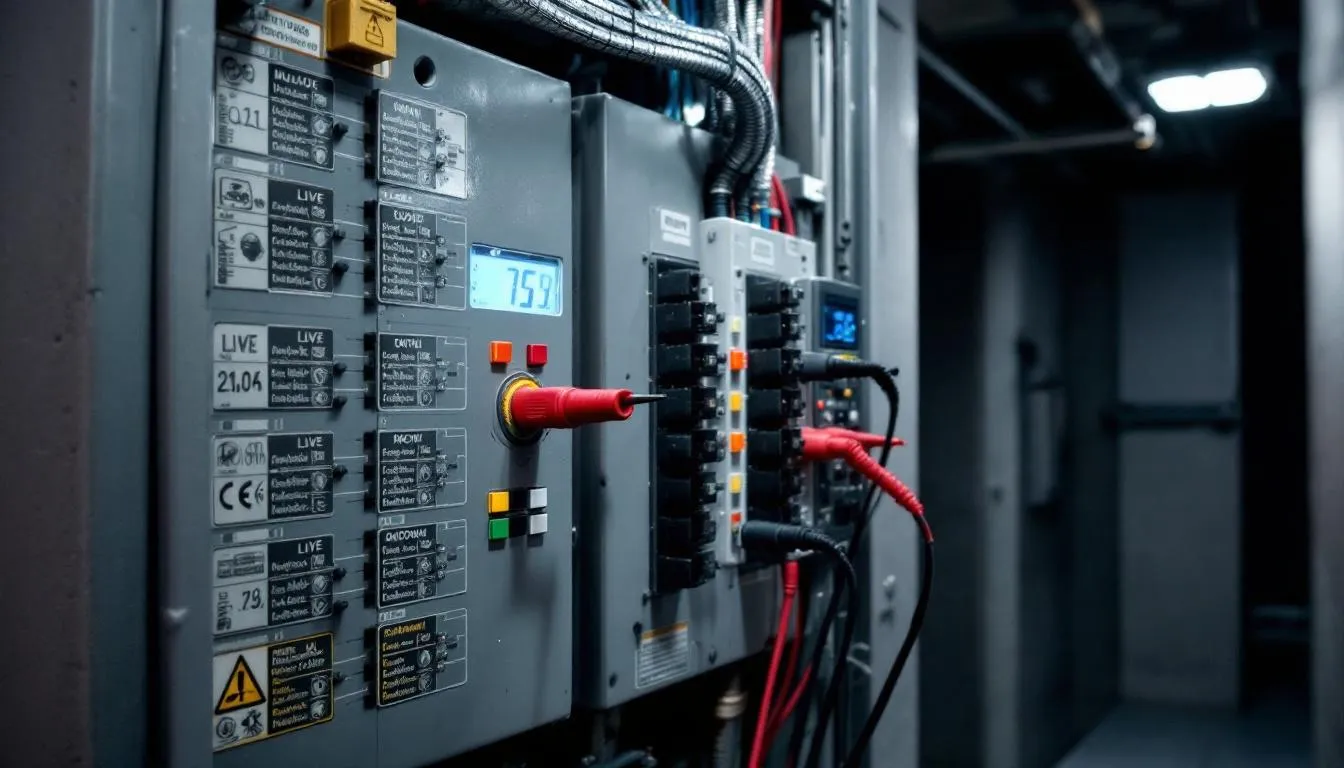
The step-by-step process of testing circuit breakers with a digital multimeter requires methodical attention to safety protocols and precise measurement techniques. Before beginning any electrical work, establish a safe workspace by ensuring the area around your electrical panel is clear, dry, and well-lit. Verify that you have all necessary safety equipment and that your multimeter is functioning correctly by testing it on a known voltage source.
Visual inspection should precede all electrical testing to identify obvious problems that might affect safety or test accuracy. Look for signs of overheating such as discoloration, melted plastic, or burn marks around breakers or panel components. Check for loose connections, corrosion, or physical damage that could indicate serious electrical issues requiring professional attention before proceeding with testing.
Preparing Your Multimeter and Safety Setup
Setting up your digital multimeter correctly ensures accurate readings and safe operation throughout the testing process. Switch your multimeter to ac voltage mode, typically selecting a range of 200V or 250V depending on your specific model. Most modern digital multimeters feature automatic ranging, but manual selection provides better control and prevents measurement errors during critical testing.
Inspect your multimeter probes carefully for any signs of damage, cracked insulation, or loose connections that could compromise safety or accuracy. Ensure the probe leads are securely connected to the meter and that the insulation extends fully to the probe tips. Replace damaged probes immediately, as compromised insulation can lead to electric shock or inaccurate readings.
Position yourself safely before beginning electrical measurements by standing on a dry surface and wearing appropriate rubber-soled shoes. Adopt the “one hand behind back” technique when making electrical measurements to prevent current from flowing across your chest cavity. This positioning reduces the risk of electrical current passing through your heart, significantly improving safety during live electrical work.
Turn off the specific breaker you plan to test while keeping the main power energized to the panel. This allows you to safely access the breaker’s input and output terminals while maintaining power to other circuits. Label the affected circuit clearly so family members know which areas of the home will be without power during testing.
Testing Voltage at the Breaker
Voltage testing at the breaker requires careful identification of the correct terminals and systematic measurement procedures. Circuit breakers have distinct input and output terminals, with the line side connecting to the electrical panel’s main power distribution and the load side feeding individual circuits throughout your home. Understanding this configuration is crucial for accurate testing and proper interpretation of results.
Begin by measuring voltage between the line terminal and the neutral bus or ground in your electrical panel. For single-pole breakers protecting 120V circuits, you should measure approximately 120V when the breaker is in the “on” position. Double-pole breakers protecting 240V circuits should show approximately 240V between the two line terminals or 120V from each terminal to neutral.
Test the load side voltage to confirm that power is properly passing through the breaker when it’s in the “on” position. Place one probe on the output terminal and the other on neutral or ground, expecting the same voltage reading as measured on the input side. Significant voltage differences between input and output terminals indicate internal breaker failure requiring immediate replacement.
Document your voltage measurements carefully, noting any deviations from expected values. Voltage readings consistently below 115V or above 125V for 120V circuits may indicate supply problems or breaker deterioration. Similarly, 240V circuits should maintain readings between 230V and 250V for optimal safety and equipment protection.
Continuity Testing When Power is Off
Continuity testing requires complete power shutdown and physical removal of the breaker from the electrical panel to ensure safety and accurate results. Turn off the main breaker to de-energize the entire panel, then use your non contact voltage tester to confirm that no power remains in the panel. Only after confirming the absence of voltage should you proceed with breaker removal.
Carefully remove the breaker from its position in the panel, noting the wire connections and breaker orientation for proper reinstallation. Most breakers simply clip into place and can be removed by pulling firmly while slightly rocking the breaker. Some older breakers may require screw removal or special procedures, so consult manufacturer documentation if you encounter resistance.
Set your multimeter to continuity or resistance mode, typically indicated by a diode symbol or ohm (Ω) symbol on the meter’s selection dial. Touch the multimeter probes to the breaker’s input and output terminals, testing both the “on” and “off” positions of the breaker switch. A properly functioning breaker should show very low resistance or continuity when switched “on” and infinite resistance or no continuity when switched “off.”
Record your continuity test results and compare them to expected values for proper breaker operation. Consistent continuity readings in both switch positions or lack of continuity in the “on” position indicate internal breaker failure. These results clearly demonstrate that the breaker works properly or requires immediate replacement to maintain electrical safety.
Alternative Testing Methods Without a Multimeter
While multimeter testing provides the most comprehensive analysis, several alternative methods can help assess breaker functionality when specialized equipment isn’t available. These approaches offer valuable insights into breaker condition and can help identify obvious problems requiring professional attention.
A non contact voltage tester offers a quick method to verify power presence at outlets and switches controlled by specific breakers. Simply turn the breaker off and use the tester to confirm that power has been removed from all associated outlets. A breaker that fails to completely interrupt power indicates serious internal problems requiring immediate replacement.
Simple outlet testing using a lamp or basic voltage tester can reveal breaker functionality issues without sophisticated equipment. Plug a lamp into outlets controlled by the breaker being tested, then toggle the breaker switch several times. The lamp should turn off immediately when the breaker trips and remain off until manually reset, indicating proper mechanical operation.
Visual inspection techniques provide valuable information about breaker condition and potential safety hazards. Look for physical damage such as cracks in the breaker housing, burn marks around terminals, or signs of overheating on the breaker or surrounding panel components. These visual cues often indicate serious problems that require professional evaluation regardless of electrical test results.
Mechanical testing involves evaluating the physical operation of the breaker switch and overall condition. A healthy breaker should switch smoothly between “on” and “off” positions with a distinct clicking sound and positive engagement. Breakers that feel loose, stick during operation, or fail to maintain position indicate mechanical wear requiring replacement.
Interpreting Test Results
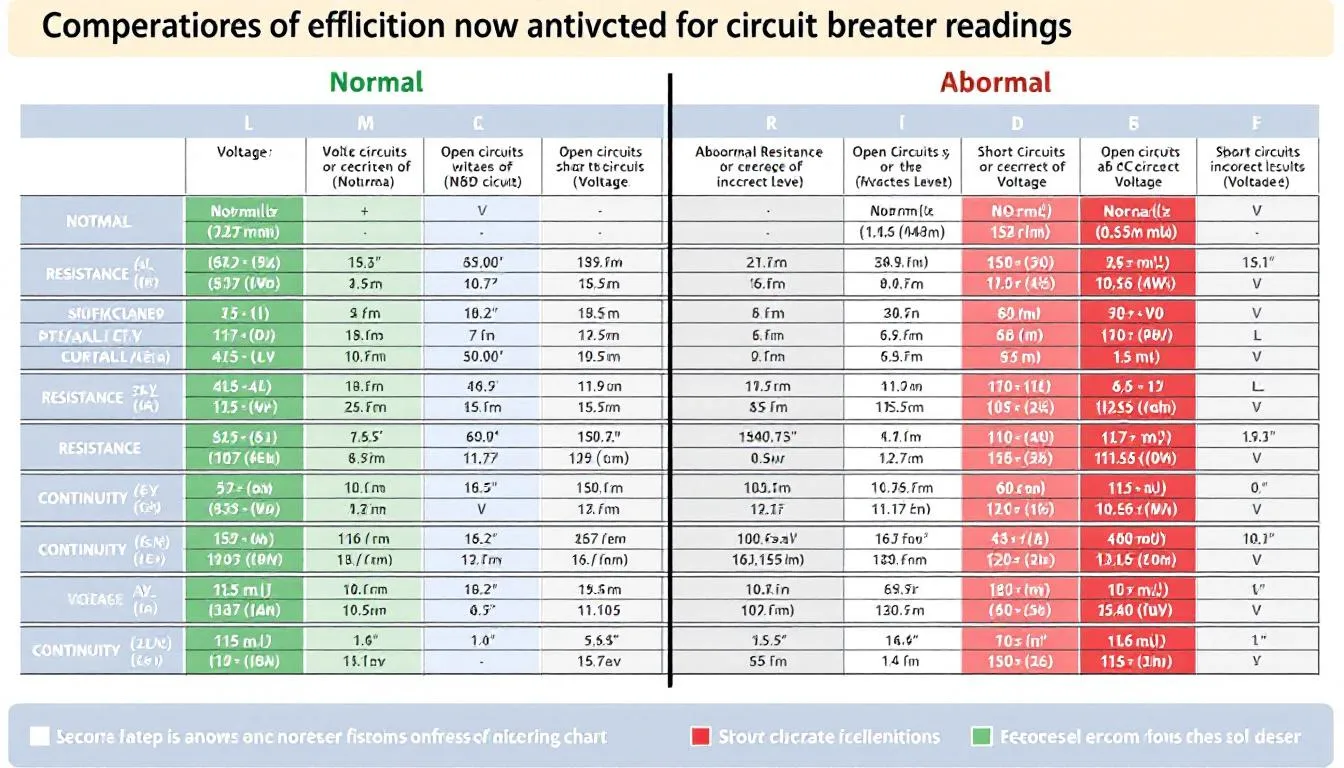
Understanding normal voltage ranges helps distinguish between acceptable variations and dangerous conditions requiring immediate attention. For standard 120V household circuits, normal voltage typically ranges from 115V to 125V, with readings outside this range potentially indicating supply problems or breaker deterioration. The 240V circuits common for large appliances should maintain voltages between 230V and 250V for optimal safety and performance.
Signs of a properly functioning breaker include consistent voltage readings that match expected values, clean continuity readings showing low resistance when “on” and infinite resistance when “off,” and smooth mechanical operation without sticking or unusual noises. These characteristics indicate that the breaker connects properly and will provide reliable protection for your electrical circuits.
Warning signs during testing include voltage readings significantly below or above normal ranges, inconsistent or fluctuating meter readings, continuity present in both “on” and “off” positions, or lack of continuity when the breaker is switched “on.” These symptoms indicate internal breaker failure or connection problems that compromise electrical safety and require immediate attention.
Documenting test results creates valuable maintenance records for tracking breaker performance over time. Record voltage readings, continuity test results, visual observations, and the date of testing for each breaker in your panel. This information helps identify trends and can assist professional electricians in diagnosing complex electrical issues.
Troubleshooting Common Circuit Breaker Problems
Breakers that trip immediately upon reset typically indicate short circuits or ground faults in the connected electrical circuits. This condition represents a serious safety hazard that requires immediate investigation to identify and eliminate the fault source. Begin troubleshooting by disconnecting all devices from the affected circuit, then attempt to reset the breaker. If the breaker holds without load, systematically reconnect devices one at a time until the problem reappears.
Breakers that won’t stay in the “on” position often suffer from internal mechanism failure or are responding to severe overloaded circuits. Check the total electrical load on the circuit by adding up the amperage ratings of all connected devices and comparing to the breaker’s rating. Overloading occurs when the total demand exceeds the breaker’s capacity, causing protective tripping to prevent electrical hazards.
Inconsistent power delivery from a breaker often indicates deteriorating internal contacts or loose connections at the breaker terminals. This condition can cause flickering lights, intermittent outlet operation, or equipment malfunction. Temperature variations and electrical load changes can worsen these symptoms, making diagnosis more challenging without proper testing equipment.
Hot breakers or burning smells represent immediate safety concerns requiring emergency response and professional electrical contractor intervention. These symptoms often indicate dangerous arcing, overheated connections, or internal breaker breakdown that can lead to electrical fires. Turn off the affected breaker immediately and contact a licensed electrician before restoring power to the circuit.
When to Call a Professional Electrician
Complex electrical issues involving multiple breaker failures, main breaker problems, or widespread electrical system malfunctions exceed typical DIY capabilities and require professional expertise. Licensed electricians possess the specialized knowledge, equipment, and experience necessary to diagnose and repair sophisticated electrical problems safely and in compliance with local electrical codes.
Situations involving the main breaker or service entrance components demand professional attention due to the extremely high voltages and currents present at these locations. Testing or repairs at the service entrance can expose workers to potentially lethal electrical energy that requires specialized training and equipment to handle safely.
When test results are unclear, contradictory, or don’t align with observed symptoms, professional electricians can provide advanced diagnostic services using sophisticated test equipment. Industrial-grade testing equipment can reveal subtle problems that basic multimeters might miss, ensuring comprehensive evaluation of your electrical systems.
Signs of electrical panel damage, extensive corrosion, or outdated equipment often indicate the need for electrical panel replacement or major system upgrades. These projects typically require permits, professional installation, and inspection by local electrical authorities to ensure compliance with current safety codes and standards.

Maintenance Tips for Circuit Breaker Longevity
Annual visual inspections combined with regular circuit breaker testing help identify developing problems before they become serious safety hazards. Schedule these maintenance activities during spring or fall when weather conditions are mild and your electrical system usage is moderate. Keep detailed records of inspection findings and test results to track equipment condition over time.
Maintaining clean, dry conditions in your electrical panels significantly extends breaker life and reduces the risk of electrical failures. Remove dust, debris, and pest nests from panel enclosures regularly, and ensure adequate ventilation around electrical equipment. Moisture intrusion can cause corrosion and insulation breakdown, leading to dangerous electrical conditions.
Avoiding circuit overloading reduces stress on breakers and extends their operational life significantly. Calculate the total electrical load for each circuit and maintain usage below 80% of the breaker’s rated capacity. This practice prevents nuisance tripping and reduces heat buildup that can damage breaker internal components over time.
Proper circuit labeling facilitates easier maintenance, troubleshooting, and emergency response when electrical issues arise. Update circuit labels whenever you make electrical modifications, and ensure that all family members understand how to safely shut off power in emergency situations. Clear labeling also helps professional electricians work more efficiently when repairs become necessary.
Environmental protection involves shielding electrical panels from moisture, extreme temperatures, and corrosive atmospheres that can accelerate equipment deterioration. Install proper enclosures in damp locations and maintain adequate clearances around electrical equipment. Address any water leaks or ventilation problems that could affect electrical equipment performance and safety.
Ready to Learn More About Electrical Safety?
Understanding how to test circuit breakers represents just one aspect of comprehensive home electrical safety knowledge. Your commitment to learning proper electrical maintenance procedures demonstrates excellent safety awareness that can protect your family and property from electrical hazards throughout your home.
Explore our extensive collection of electrical safety articles covering topics like GFCI outlet testing, electrical panel maintenance, and outlet troubleshooting techniques. These resources provide the knowledge and confidence needed to handle routine electrical maintenance safely while recognizing when professional assistance is necessary.
Subscribe to our newsletter for regular updates on electrical safety tips, maintenance schedules, and new DIY guides that help you maintain your home’s electrical systems effectively. Our expert-written content focuses on practical, safety-first approaches that empower homeowners to take control of their electrical maintenance needs.
Remember that electrical safety education is an ongoing process that requires continuous learning and attention to proper procedures. Stay informed about electrical codes, safety practices, and maintenance techniques to ensure your home’s electrical systems continue operating safely and reliably for years to come.
Frequently Asked Questions
How often should I test my circuit breakers?
Annual testing provides adequate monitoring for most residential circuit breakers, with monthly testing recommended for GFCI and AFCI breakers using their built-in test buttons. Immediate testing becomes necessary when experiencing electrical problems, after power outages, or following severe weather events that might affect electrical equipment. Older electrical systems or those in harsh environments may benefit from more frequent testing to identify problems early and maintain optimal safety.
Can I test a circuit breaker while it’s still connected to the panel?
Voltage testing can be safely performed with the breaker installed in the panel using proper safety precautions and appropriate test equipment. However, continuity testing requires complete power shutdown and physical breaker removal to ensure accurate results and prevent electric shock. Always use properly rated safety equipment and follow established safety procedures when working around energized electrical equipment, regardless of the testing method employed.
What does a multimeter reading of zero volts mean?
Zero voltage readings can indicate several conditions including a tripped breaker, internal breaker failure, or loss of power supply to the electrical panel. Check the main breaker position and verify that power is reaching the panel before concluding that individual breakers are faulty. Zero volts measured on the load side with normal voltage present on the line side confirms internal breaker failure requiring immediate replacement to restore circuit protection.
Is it safe to test circuit breakers myself as a DIY project?
Basic circuit breaker testing can be performed safely by informed homeowners using proper tools, safety equipment, and established procedures. However, complex electrical issues, panel modifications, or work involving main breakers require professional expertise due to the high voltages and specialized knowledge involved. Never attempt electrical work if you feel uncomfortable with the procedures or lack the proper tools and safety equipment necessary for safe completion.
What should I do if my circuit breaker test results are inconsistent?
Inconsistent test results may indicate multimeter calibration issues, loose probe connections, or environmental factors affecting electrical measurements. Verify that your testing equipment is functioning correctly and repeat measurements multiple times to confirm readings. Temperature variations, moisture, and electromagnetic interference can affect sensitive electrical measurements, so consider these factors when interpreting results. Consult a professional electrician if inconsistent results persist despite careful attention to testing procedures and equipment condition.
Outlets, lighting, breakers, or a full panel upgrade—whatever you need, we’ve got you covered across Los Angeles. Tap to call +1 (424) 238-3889 and lock in your service window.